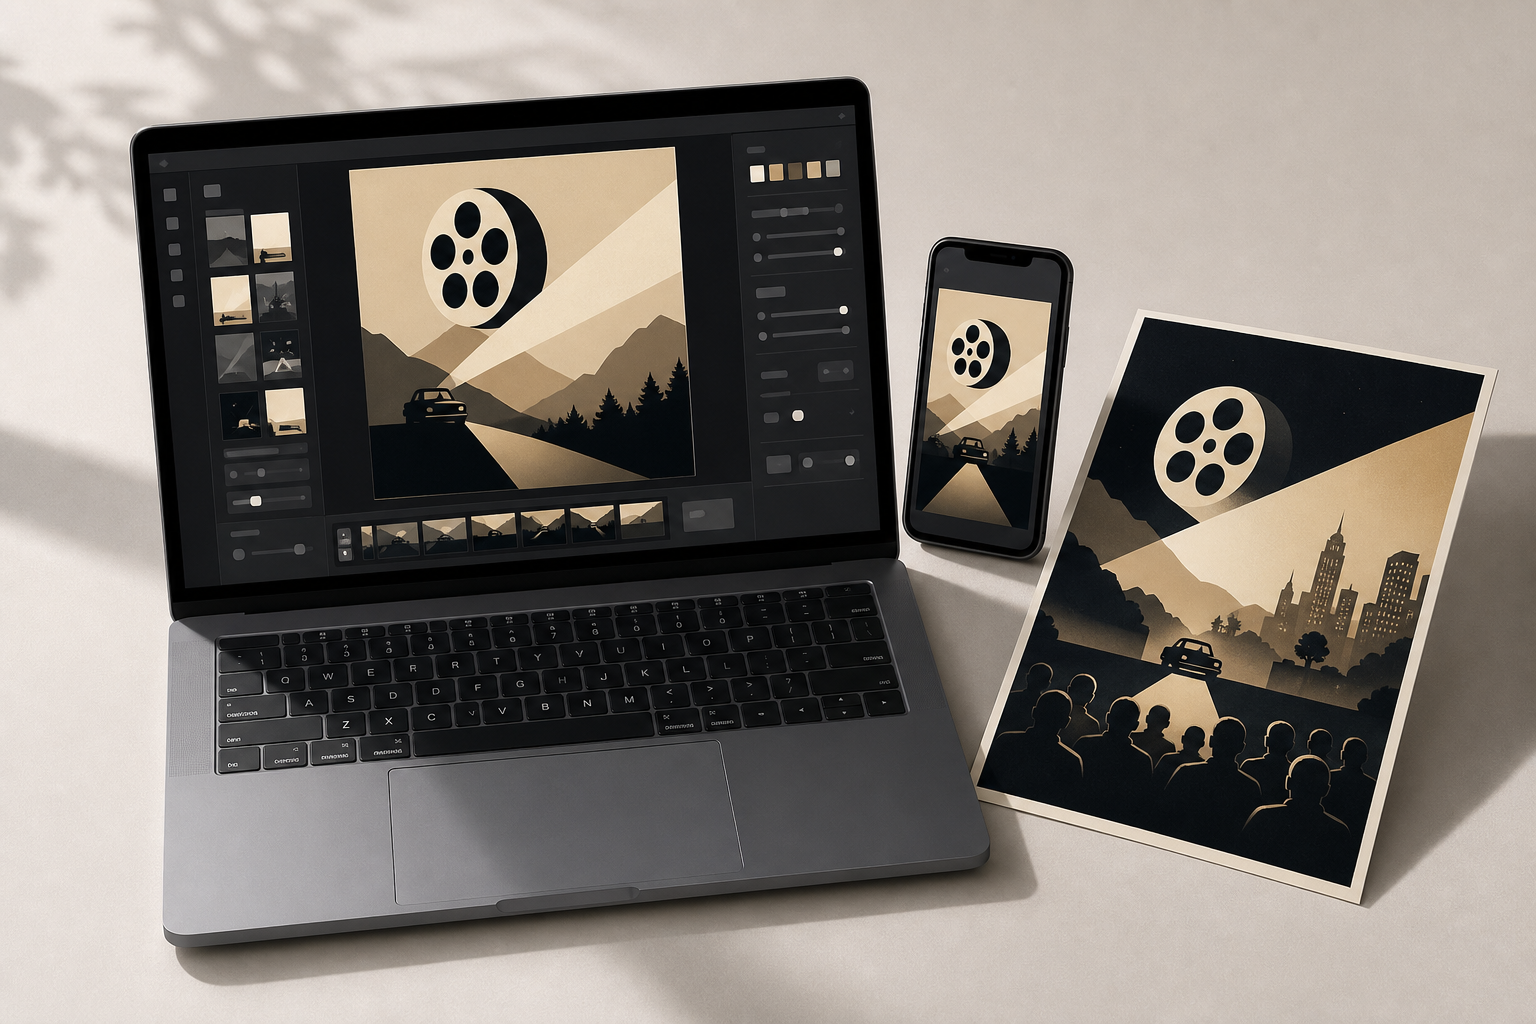
Why this workflow matters
Indie teams do more with less. You need visuals that read on a phone, a social feed, and a TV in a bar. An ai image editor saves time, but only when paired with a platform-aware workflow. This guide gives clear steps to move from raw frame or still to festival poster, Roku and connected TV tile, and a full set of social variants that meet delivery and quality expectations.
Quick overview
- Prep source files and choose an ai image editor with commercial rights.
- Create a central master art file and generate platform-specific crops.
- Batch export with consistent naming, correct color profile, and size limits.
- Run a rights and QA checklist before delivery to platforms or festivals.
Before you start: essentials to decide
- Ownership and licensing Choose tools that allow commercial use or use your own photos and assets.
- Primary deliverables Typical set: festival poster, 16 by 9 CTV/Roku thumbnail, 1 by 1 square for platforms, 9 by 16 vertical for reels, and a header/banner for festival pages.
- Color target Export in sRGB for web and connected TV. Avoid other color spaces unless a platform asks for them.
Step 1 Pick the right ai image editor and plugins
Not all ai tools are equal for production. Pick one that supports the edits you need - inpainting, background removal, upscaling, and batch export. Confirm the tools commercial license and save a record of the version and prompt you used. Complement the editor with a vector or layout tool for typography if needed.
Step 2 Prepare source material
- Gather high-resolution stills from the film or production photo shoot. Higher pixel count beats relying on upscaling later.
- Clean and retouch: remove booms, cables, and blemishes using the ai editors object removal or clone tools.
- Create or keep high-res logos and festival badges as separate transparent PNGs.
Step 3 Build a single master composition
Create a master file that contains the core image and layout. Work at a large pixel size so crops remain crisp across formats. Recommended approach is to start at 3840 by 2160 pixels as a master when possible, then crop down for platform sizes. Keep text and logos on separate layers so you can quickly reflow for different aspect ratios.
Step 4 Design CTV and Roku thumbnails that read from across the room
- Aspect ratio Use 16 by 9 for most CTV thumbnails.
- Safe area Keep titles and faces within the central area. A practical rule is to keep critical text and logos inside the center 60 percent of the canvas so they are not cropped on different devices.
- Typography Use bold, high-contrast type. Avoid thin serif fonts for the primary title when designing for TV viewing distance.
- File type and quality Export as high-quality JPEG for photos at 80 to 90 percent quality to balance size and artifacting. Use PNG for graphics needing transparency. Aim for under 2 megabytes if the platform recommends limits.
Step 5 Create social and festival variants
- Square 1 by 1 for Instagram feed, 1080 by 1080 pixels minimum.
- Vertical 9 by 16 for stories and reels, 1080 by 1920 pixels minimum.
- Poster or print sizes for festivals: supply a high-resolution 300 dpi PDF or TIFF when requested. Export the master asset at the requested pixel dimensions to avoid resampling artifacts.
- When using ai edits for style variants, keep a conservative look for festival posters. Judges and programmers often prefer legible, composed art over heavy stylization.
Step 6 Batch export and naming conventions
- Set up templates in your ai editor or use desktop automation to export required sizes from the master file.
- Name files consistently. Example: filmtitle_platform_variant_date.jpg. That could be echoes_versusmedia_ctv_16x9_2026-07-01.jpg.
- Include metadata where possible: creator, copyright year, contact email. Many platforms read embedded metadata to speed ingestion.
- Keep original layered masters and exported copies organized in a deliverables folder structure so you can re-export quickly for updates.
Step 7 Quality control checklist
- Legibility test: Shrink the thumbnail to 10 percent and confirm the title and principal imagery are still clear.
- Color and contrast: View on multiple displays including a phone, laptop, and a TV or connected streaming stick to confirm tones hold up.
- Artifact check: Zoom in at 100 percent, inspect edges and faces for ai artifacts or haloing, especially after background removal.
- Accessibility: Ensure text contrast passes basic readability. If your title has a drop shadow, confirm it is not causing blur on TV scaling.
Step 8 Rights and legal checklist
Always run a quick rights pass before publishing or submitting.
- Confirm you own or have licensed the raw stills and production photos.
- Secure model releases for recognizable people, and location releases where applicable.
- Check your ai tools terms for commercial use and retention of derivatives. Save the tool version, prompt text, and a timestamped screenshot or export log if the tool provides one.
- For music video and archive imagery, verify any third-party logos or copyrighted images are cleared or removed.
Step 9 Fast delivery and archive strategy
- Deliver a ZIP with clearly labeled folders for each platform and a simple readme listing file specs and contact info.
- Archive the layered master, prompt history, and final exports. If you need to make festival changes quickly, archives save rework time.
Practical tips and shortcuts
- Use the ai editors mask and inpaint tools to create alternate crops quickly without rebuilding the layout.
- For CTV, favor strong silhouettes and faces with eye contact. Complex textures and small text do not translate well to TV tiles.
- If you must upscale a low-res still, run a two-step workflow: ai upscaler at 2x, manual denoise, then regenerate background fills or edges with inpainting to remove artifacts.
- Keep a visual style guide for each release: primary font, color palette, and permitted badge placements. It speeds batch work and keeps assets cohesive.
Delivery notes for creators who stream
Platforms and festival portals sometimes have idiosyncratic requirements. When you distribute to multiple endpoints, prioritize the most restrictive spec and derive variants from that master. That reduces rework and preserves visual fidelity across Roku, Apple, Android-based devices, web players, and connected TVs.
VersusMedia has been supporting indie filmmakers for decades, operating FAST channels and an on-demand library that accepts platform-ready tiles and festival packages. Following this workflow means your art will land cleanly in channel tiles, festival listings, and promo placements across CTV and mobile, improving discoverability and monetization that matter to grassroots creators.
FAQ
Q: Can I use freely available ai image editors for commercial poster art?
A: Check the tools terms. Some free tools restrict commercial use or have unclear derivative policies. When in doubt, use your own photos or pick a service that explicitly grants commercial rights and keeps a version history you can document.
Q: What is the single most important design rule for CTV thumbnails?
A: Keep the composition bold and legible from a distance. Strong central imagery or face, minimal small text, and high contrast will perform better than complex compositions.
Q: How do I keep file sizes down without losing quality?
A: Use high-quality JPEG exports at 80 to 90 percent, limit unnecessary transparency, and scale to required pixel dimensions rather than uploading oversized images. If the platform accepts WebP and you control the pipeline, it can reduce file size further but confirm platform support first.
Q: Should I store prompts and ai tool versions?
A: Yes. Save prompts, settings, and timestamps. If you need to prove how an image was produced, or recreate a variant, that record is invaluable and protects you if a licensing question arises.